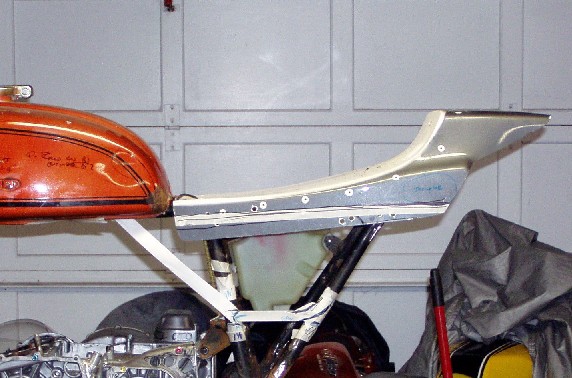
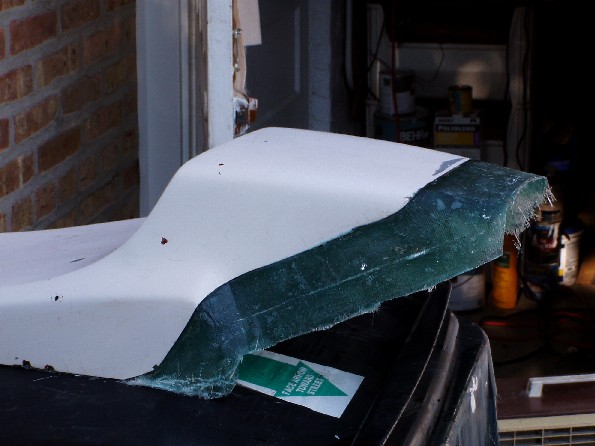
Flat track style seats come in variety of shapes and sizes. This one was purchase used from Gordon Lamb who used to have it on the Gray Dog ( at least that's what I think he called it).
As we are often reminded, Size Matters, and when it comes to seats, that is certainly true. I liked the shape but to my eye, the hump was too short. That shortness also meant that it was going to be difficult to mount a rear light in a neat and tidy way.
 |
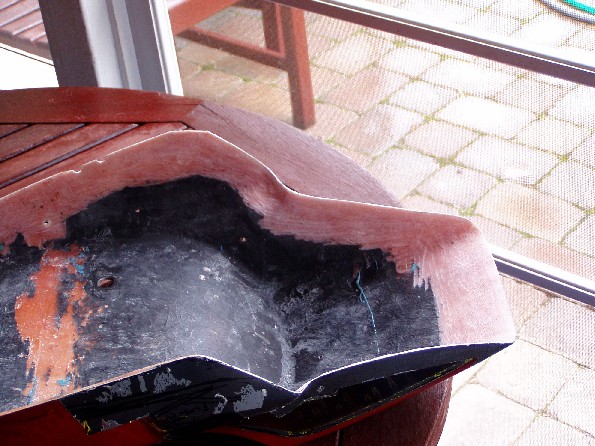
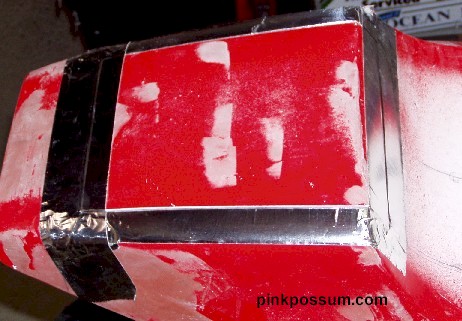
The obvious answer was to stretch the hump by a couple of inches. In theory that is quite simple, but things never quite work out the way they are supposed to. I cleaned up the lower surface of the seat so that the new fiberglass would be able to get a grip. Then I used Aluminum duct tape and stiff card to build up an extension to the existing hump.
 |
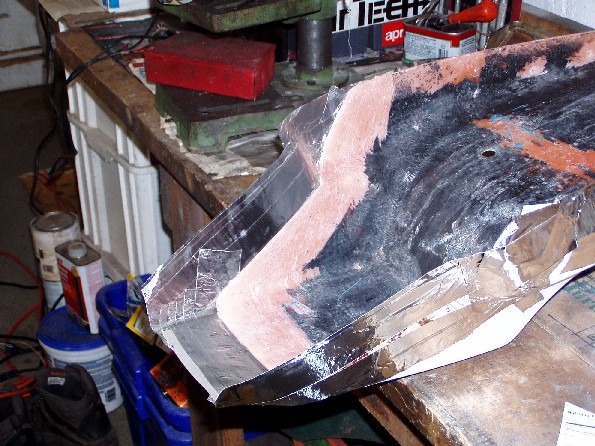 |
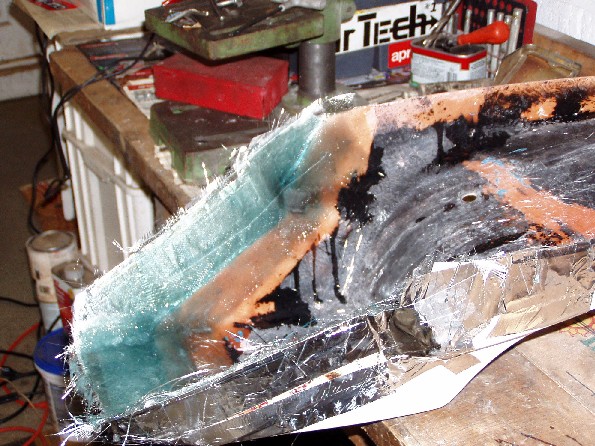
The hump was extended using fiberglass mat and cloth, let it dry and trimmed it with a Dremmel cut off wheel. After that followed the inevitable filling in pits and low spots and rubbing it down, and filling and rubbing etc until it was close to the shape I wanted.
 |
 |
And this is the seat in almost the finished shape.
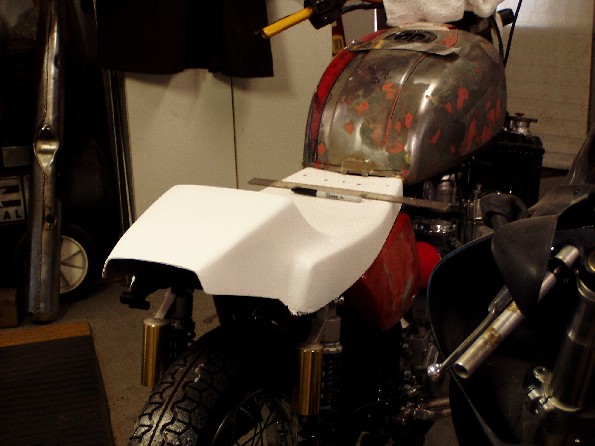 |
Holes were drilled to take OEM type rubber mounts so the seat can be bolted securely without too much cracking.
The seat was starting to look good, but all that's a very big hump with nothing much under it. I did not want to position the battery or oil tank back there. All that weight up high is not good for handling, so what could I use the space for? The answer is obvious - Storage. we all need somewhere to put the registration and Insurance papers and perhaps a spare bottle of 2 stroke oil or a pack of sandwiches and a mobile phone.
The next question was would I make a tray that required the whole seat to be lifted off, or was there a simpler way to put some sort of "door" in. I liked the idea of a hidden door in the front face of the hump to be hidden behind the seat pad, but that area is too shallow to be useful. So that meant I needed to cut a hatch in the top surface and find a way to open it and make it blend in so that it's not too noticeable.
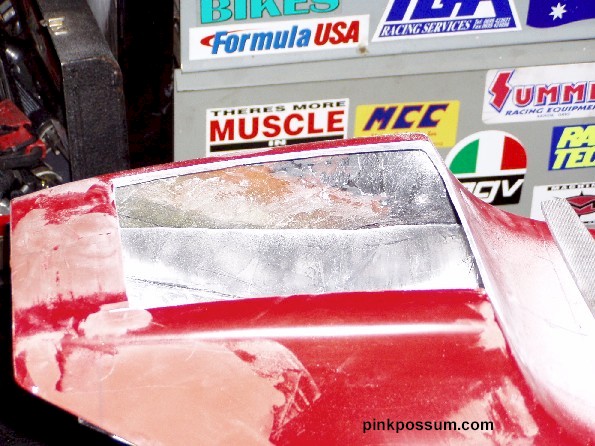 |
A section was carefully marked up and cut out with a combination of hacksaw and Dremmel with carbide cutting disk |
| A tray was constructed out of regular card stock. Card is not stiff enough nor flexible enough, so it was covered with aluminum duct tape. The addition of tape allows the card to be shaped in more subtle ways - in this case to create a curve for tire clearance. | 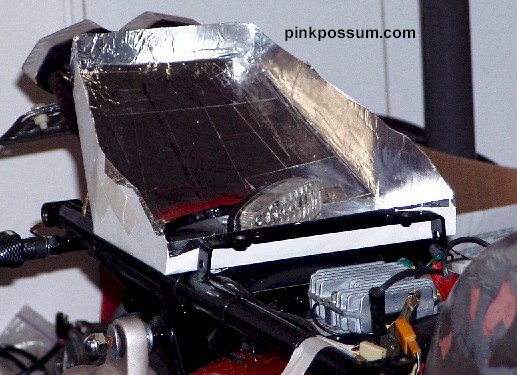 |
The cut out was cleaned and taped back into place and waxed. Then a lip was created around the inside face. |
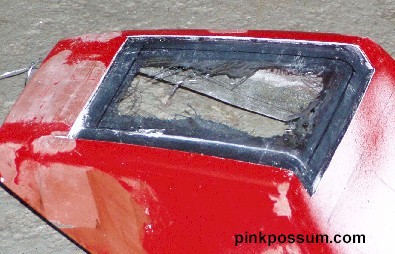
The new lip was trimmed to leave approx. 1/2 inch (12mm) all around. |
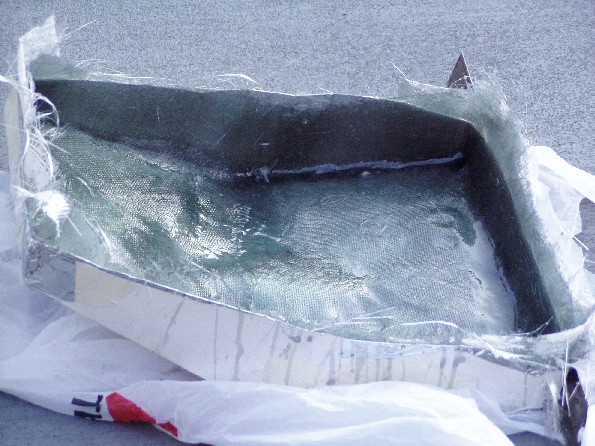 |
The pan was then made out of two layers of cloth with a single layer of chopped starnd matt between them. |
| The pan was then trimmed and inserted into the base of the seat hump. It was taped into place and a mix of Glass reinforced Bondo was used as an adhesive and filler to seal it in place. A further layer of glass cloth was applied to the inside surface to bond the pan to the seat base. | 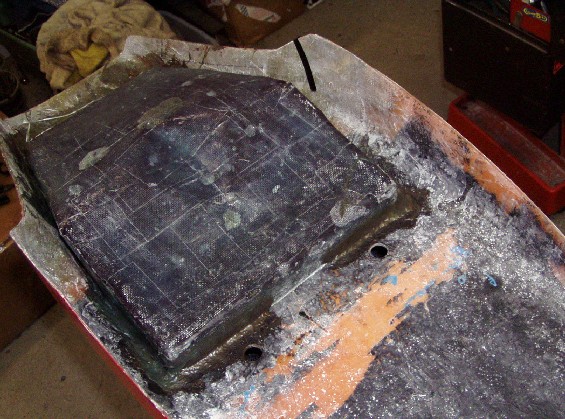 |
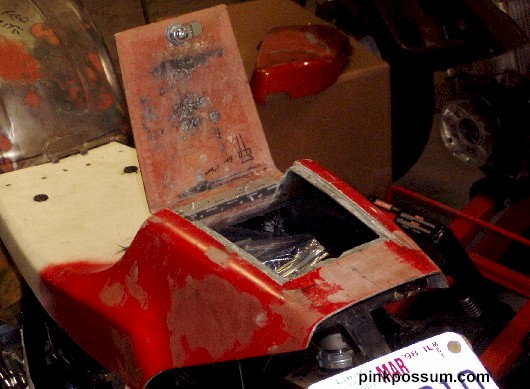 |
Aircraft Spruce supplied the aluminum piano hinge and the lock is a cabinet lock from our local ACE hardware store. |
| Now "all" it needs is a ton of prep and a coat of paint. | 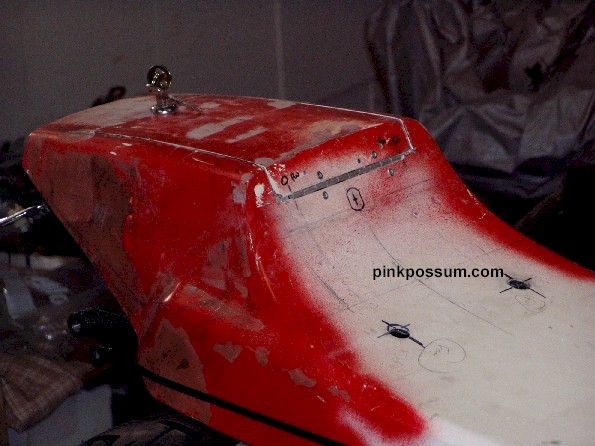 |