Now that the seat shape is almost finalized, the rear lamp has to be mounted. An OEM lamp is too large to fit in the space, but could look kind kinda funky. Almost like an Aprilia twin in some ways.
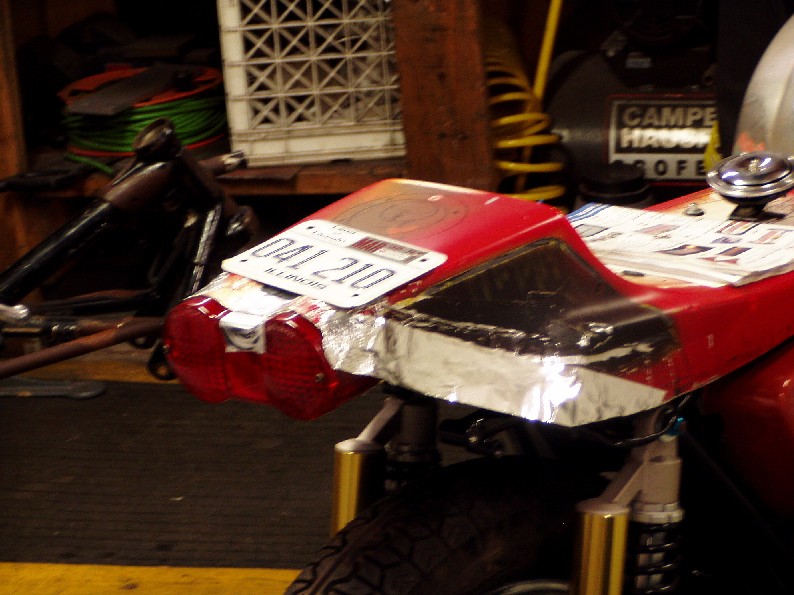 |
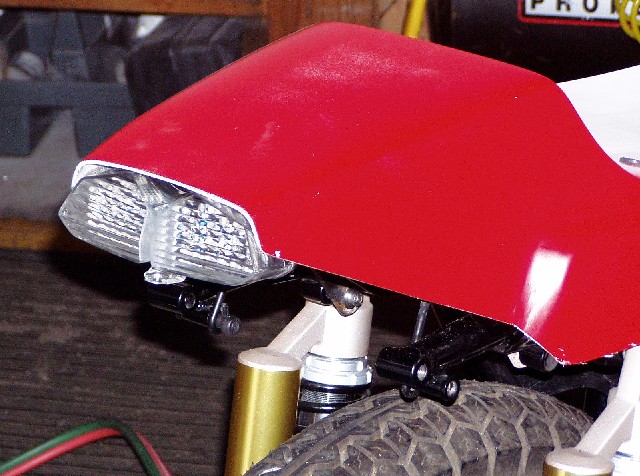
After trying a couple of cheap LED lamps off the internet, I finally tried the R6 Yamaha integrated rear lamp that I bought cheaply for the first bike.
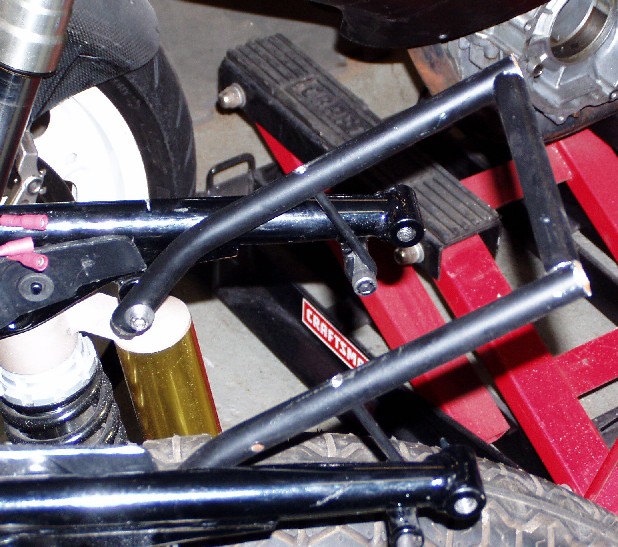
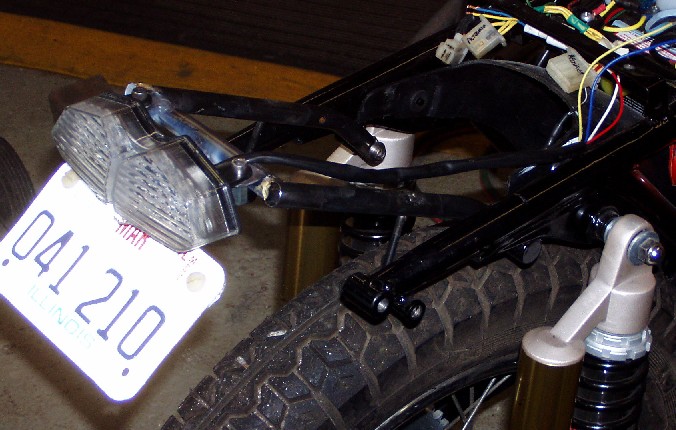
Nice light, but it needed a bracket of some sort to hold it up. One idea was to create a bulkhead in the seat but that wasn't a workable solution at this point. What was needed was a subframe of some sort.
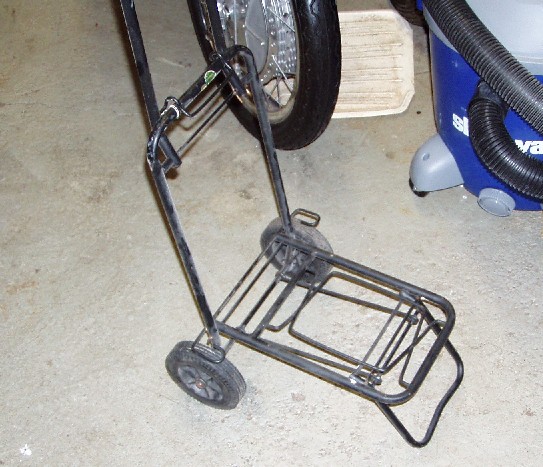
There was some chrome moly tubing lying around the shop, but this job required something special. In a pile of old cast off bits of metal awaiting their fate at the recycling depot, were a couple of old sets of briefcase wheels. just what I needed - thin wall tubing. The only down side was that they were powdercoated and that will have to come off to weld it.
 |
It took about 10 minutes to measure the bike and cut the tube to size. a pair of steel spacer tubes from the hardware store were welded in as sleeves in the lower ends. The rear steady was made out of lengths of the steel rod used in the carrier.
 |
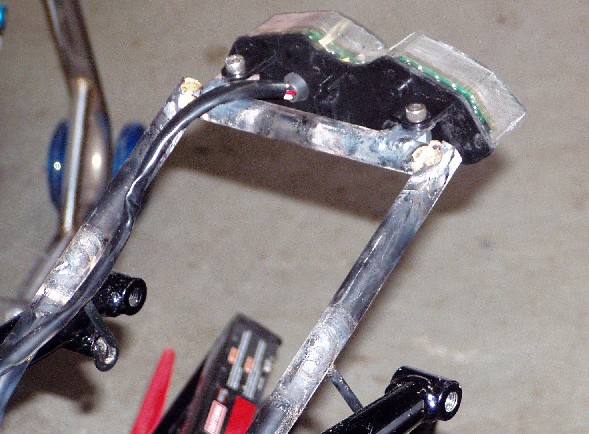 |
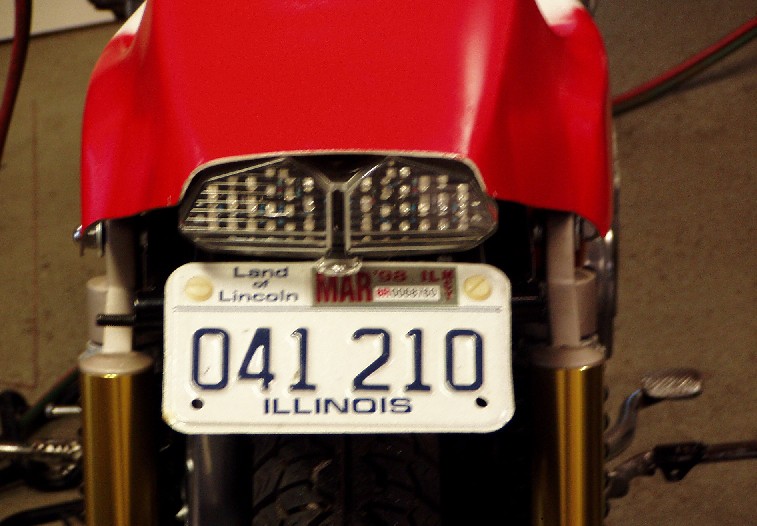
Tabs for the rear lamp were fabricated out of steel scrap. A length of square tube was split to leave a flat strip with a small flange - light and strong. Another strip was used to mount the rear license plate.
 |
The subframe is very
simple and attaches with 4 bolts. The frame is a late 76
"A" model, so it has a slightly different fender mount to
the earlier frames and it has two additional bosses just below and
to the rear of the shock top mounts.
it would be fairly easy to adapt the design to suit other configurations. When the seat is finished, two additional tabs will be added to take OEM seta rubber bumpers to keep the hump off the lamp. |
 |
|
 |